Google Ads is still one of the most powerful ad platforms out there. But if you’re working in a “sensitive” niche, it can feel like walking through a minefield — bans, payment issues, account freezes… it’s a lot.
The good news? There’s a way to stay under the radar: use virtual cards and reliable proxies to keep your accounts safe and scale your campaigns with confidence.
Why al cards are perfect for Google Ads?
A virtual card is basically a digital version of a regular bank card — no plastic, no bank visits, just fast and secure online payments.
Here’s why they work great with Google Ads:
🔹 Safer — Your real bank account stays protected
🔹 Easy to replace — If a card gets blocked, you can issue a new one in seconds
🔹 Higher approval rate — Google tends to accept virtual cards more easily
🔹 Scalable — Create multiple cards from the same wallet
🔹 Private — Top-up with crypto, no need for banks or KYC
FlexCard is one of the best virtual card services for advertisers. It offers two card types:
- ADS Cards: For Google Ads, ad networks, SaaS, etc.
- Universal Cards: For general online purchases (no gambling or gas stations)
Why FlexCard?
✅ Works with Google Pay & Apple Pay
✅ Crypto top-up (USDT)
✅ Easy card creation and balance control
🎁 Bonus: Use promo code PROXY to get 10 free virtual cards
👉 flexcard.cards/?utm_source=gonzoproxy_crosspromo
Why you need a proxy for Google Ads?
Google watches everything: your IP, your location, your device fingerprint, your behavior. If something looks suspicious — boom, your account’s gone.
Things that trigger bans:
❗️ Frequent IP changes
❗️ Location mismatch
❗️ Weird or duplicate fingerprints
❗️ Sketchy-looking activity
To stay safe, you’ll need residential proxies — and GonzoProxy delivers exactly that:
✅ Real residential IPs
✅ Stable connections that don’t randomly switch
✅ No KYC needed
✅ Supports any geo: US, EU, LATAM, etc.
✅ Works with anti-detect browsers (Dolphin, Indigo, Octo, etc.)
✅ Proven track record — 3+ years on the market
Common mistakes to avoid:
❌ Logging in without a proxy or using free/public ones
❌ Switching IPs and devices too often
❌ Wrong or inconsistent location
❌ Using invalid or duplicate card info
Step-by-step: How to safely run Google Ads using a virtual card + proxy
Step 1: Create a virtual card via FlexCard
1. Sign up at FlexCard
2. Top up your wallet with USDT
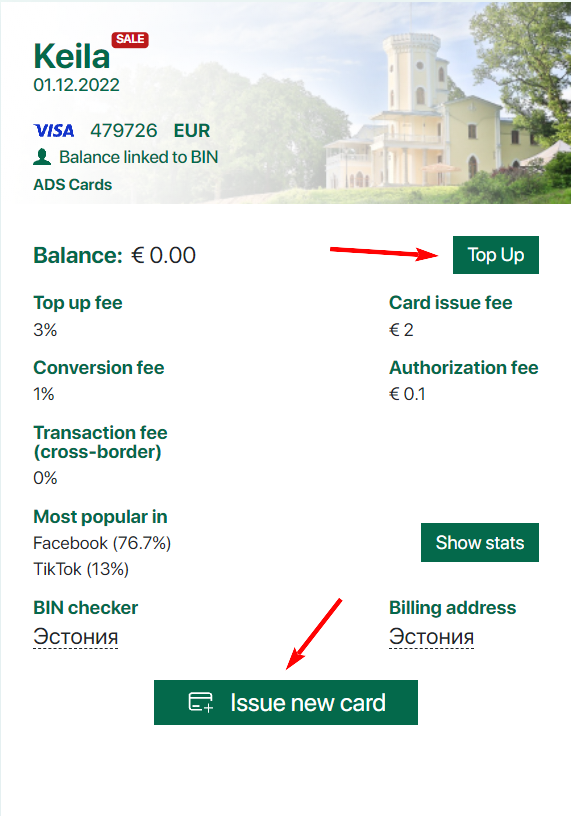
3. Choose a BIN and transfer funds to it

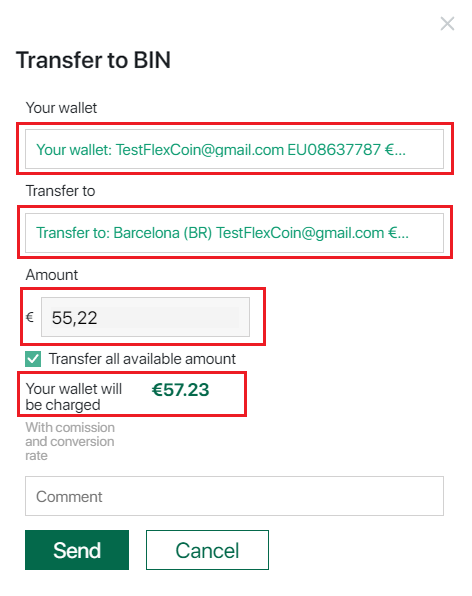
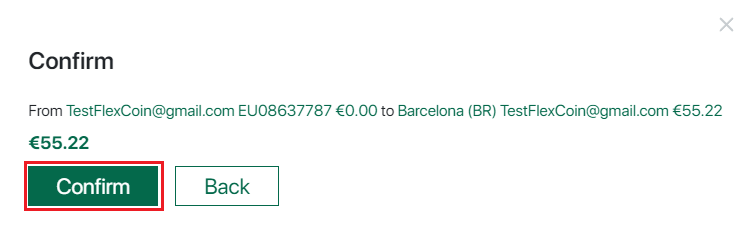
4. After the transfer, issue a virtual card in 1 click
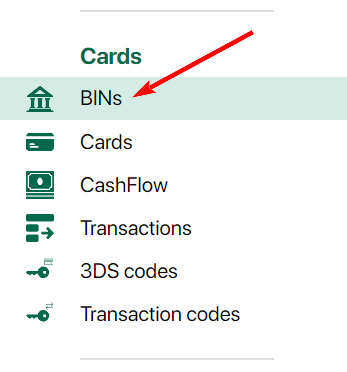
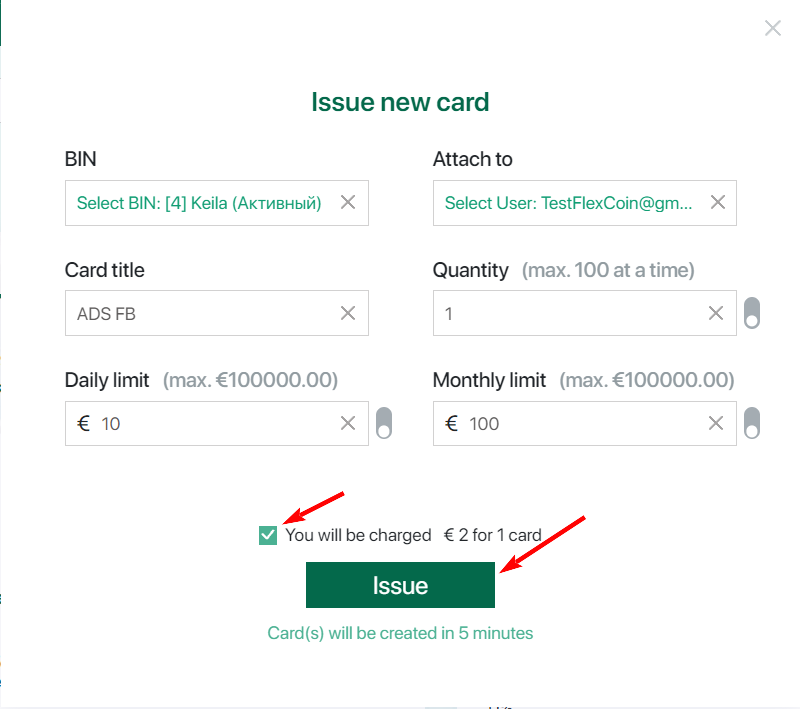
BIN — choose one of the available BINs on which you want to issue the card. (You must have a balance on the BIN you plan to use.)
Attach to — select who the card should be issued for (available to Owner and Manager roles).
Name — give the card a name (for example, to indicate its intended purpose).
Daily limit — set the daily spending limit for the card.
Monthly limit — set the monthly spending limit for the card.
Quantity — the number of cards you want to issue.
Step 2: Set up a residential proxy with GonzoProxy
1. Create an account at GonzoProxy and buy traffic (GBs)
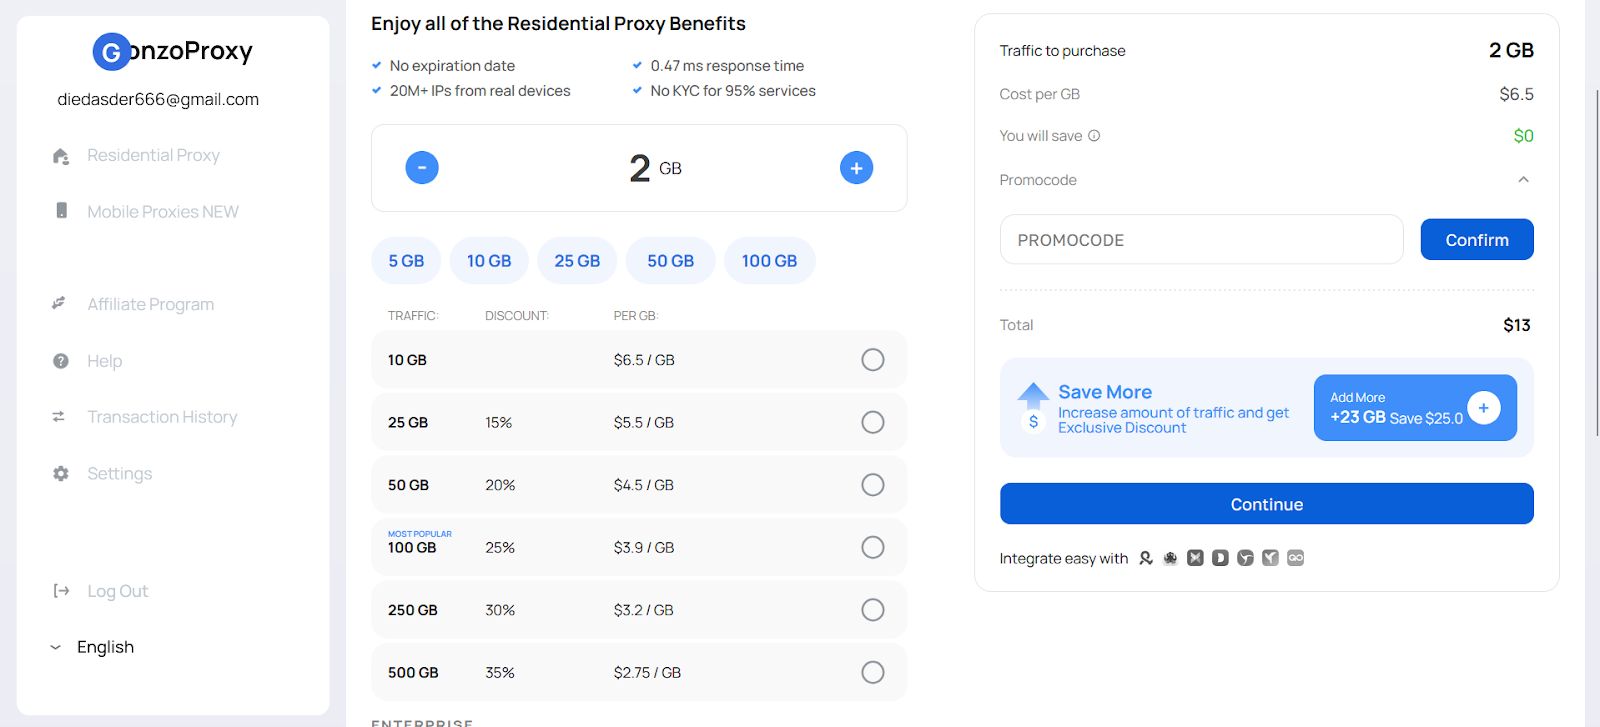
2. Choose your desired geo and generate a proxy
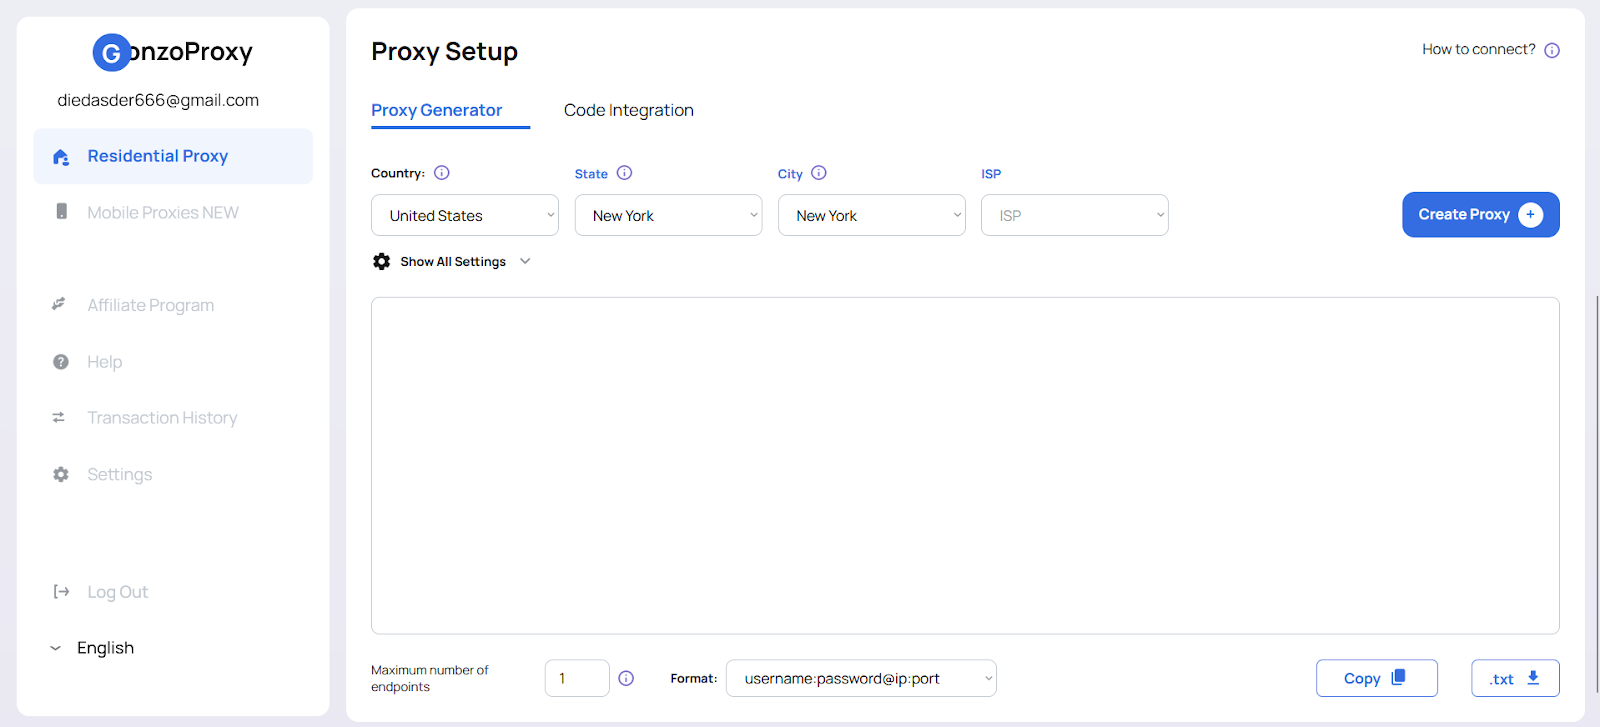
3. Connect the proxy to your anti-detect browser (we’ve covered how in earlier posts)
Step 3: Log in to Google Ads via anti-detect browser
1. Launch the anti-detect browser with your proxy profile
2. Log in to your Google Ads account
Step 4: Add your virtual card to Google Ads
1. Go to the Payments section
2. Add your card info (number, CVV, expiry date)
3. Make sure the billing info matches the card details
Step 5: Run a test payment and scale carefully
1. Start with a small test charge ($10–20)
2. If everything goes through — slowly increase your ad spend
Final checklist for safe Google Ads management:
✅ Use virtual cards (FlexCard)
✅ Use stable residential proxies (GonzoProxy)
✅ Always go through an anti-detect browser
✅ Keep everything consistent — IP, geo, payment details
Stick to this setup, and you’ll minimize the risk of bans and be able to run your Google Ads campaigns without the constant stress. Good luck and stay safe out there!


